Making reliable splices
There is more than one way to make a reliable splice. Here is one way that is quick and easy and doesn't require any special tools. I like this method better than using butt connectors because it is more compact and moisture-proof. It also appears to be more mechanically robust than a butt connector crimped with typical $10 (i.e. non-ratcheting) crimp tools.
Lineman's splice plus heat shrink tubing
Tools required
- Wire strippers
- Heat shrink tubing, 3/16" or 1/8" I.D, adhesive-lined ("Dual wall")
- Heat source (heat gun, cigarette lighter, etc.)
Step 1
Strip off 3/4" of insulation from each wire end.
Then twist the strands together so there are no loose strands.

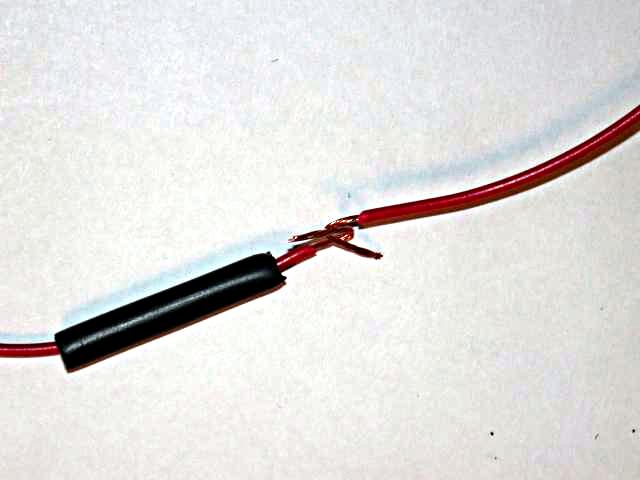
Step 2
Slide a short piece of heat shrink tubing over one of
the wires.
Bend the bare wire at each end into a V shape, with the
apex of the bend closer to the insulation. Then fit
the two V shapes together.
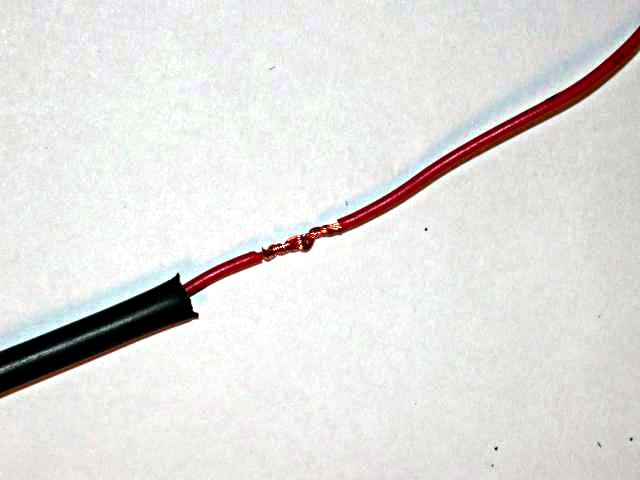
Step 3
Twist the wires around each other as shown.
Step 4
Slide the heat-shrink tubing over the bare wires and
apply heat, being careful of
surrounding material that you do not intend to melt.
The ideal tool is a heat gun, but a cigarette lighter will
work. Keep the flame at least an inch from the tubing,
and remove it immediately if you see signs of scorching.
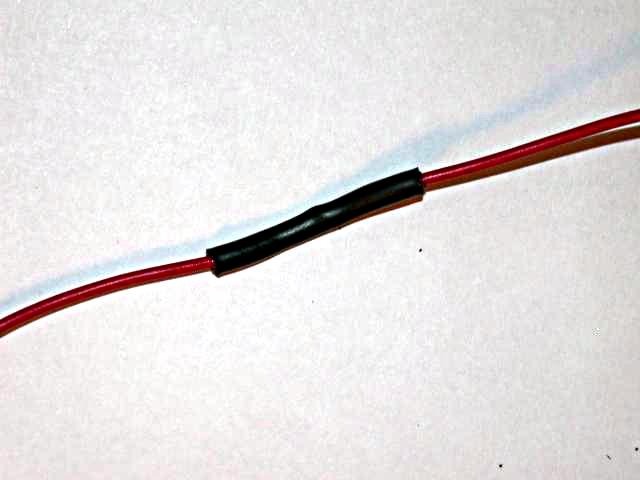
The tubing used in the pictures above has an expanded inner diameter of 3/16", and is lined with adhesive. Non-adhesive tubing will result in a smaller outer diameter when shrunk. The adhesive-lined tubing is nice because it adds some mechanical strength to the joint, and it is virtually impossible for water to enter and corrode the splice. It is, however, more difficult to find the adhesive-lined tubing, and it is probably overkill in most cases.